So, when my imagination started wandering toward things to do for B's homecoming, it automatically started skipping happily toward that era for ideas.
Have you ever heard the phrase "You get a hero cookie"? Maybe it's just a local colloquialism, I don't know. My dad used to say it when one of us did something above the bare minimum without having to be told to. But there never was any cookie. It was just a turn of phrase. But what if there was a hero cookie? A super yummy, chewy, gooey, homemade stack of cookies?
Backtrack a little bit: Cigarette Girls. I got side tracked.

I love it! Why? I don't know. I just do. I want legs like that!! Hmm... sorry, side tracked again.
So, now we've got the idea of hero cookies, and we've got the sexy iconoclastic image of the cigarette girl in our heads.... and we moosh them together. That became the basis for my idea. Instead of cigars, cigarettes, and programs, I'll be giving away "hero" cookies!
Earlier this summer, I went clothes hunting with some friends. We went to a place in Atlanta known as Little 5 Points. It's basically counter-culture heaven. It's also home to some of the coolest second hand and consignment shops EVER! You wouldn't believe the stuff you can find there! And I found this amazing dress. Think Marilyn Monroe's white halter, but shorter and black. It falls just a little above the knees. And to finish it off I found these adorable peep toe pumps. The dress was all of $14, and the shoes were $30. If I'd bought the outfit brand new, it would've cost more like $90 instead of $45. Total score!
But, where in the world was I going to find a cigarette tray? And, what was I going to use to advertise the contents of said tray?
Insert a trip to Hobby Lobby. Yes, I know, hobby and craft stores are often way more expensive than necessary, but I was careful.

Nearly everything was on sale.
The three little American flags were 3/$1
The three spools of ribbon were 3/$1
The three bottles of paint were 3/$1
The two small wooden stakes were .30/ea
Theres a galvanized tin watering can/coffee pot back there in the back. It was $2
The wooden forms were $3/ea
The craft paste, bag of pebbles, paint brushes, and the cellophane goodie baggies were the most expensive.
The pebbles were $3, the brushes $5, the paste $2, and the goodie bags $3.
But, the paint brushes can be used again, the tin will probably become a toothbrush holder in my bathroom, or a utensil holder in the kitchen, and the goodie bags... I was willing to pay for convenience and looks. I didn't want to have lumpy, mal-formed packages of cling-wrap wrapped cookies all over my tray. I wanted it to look neat, and pretty, and well put together for our boys when they come home. Each baggie will have a few cookies in it, and be tied with either red, white, or blue ribbon :-D It's going to be awesome!
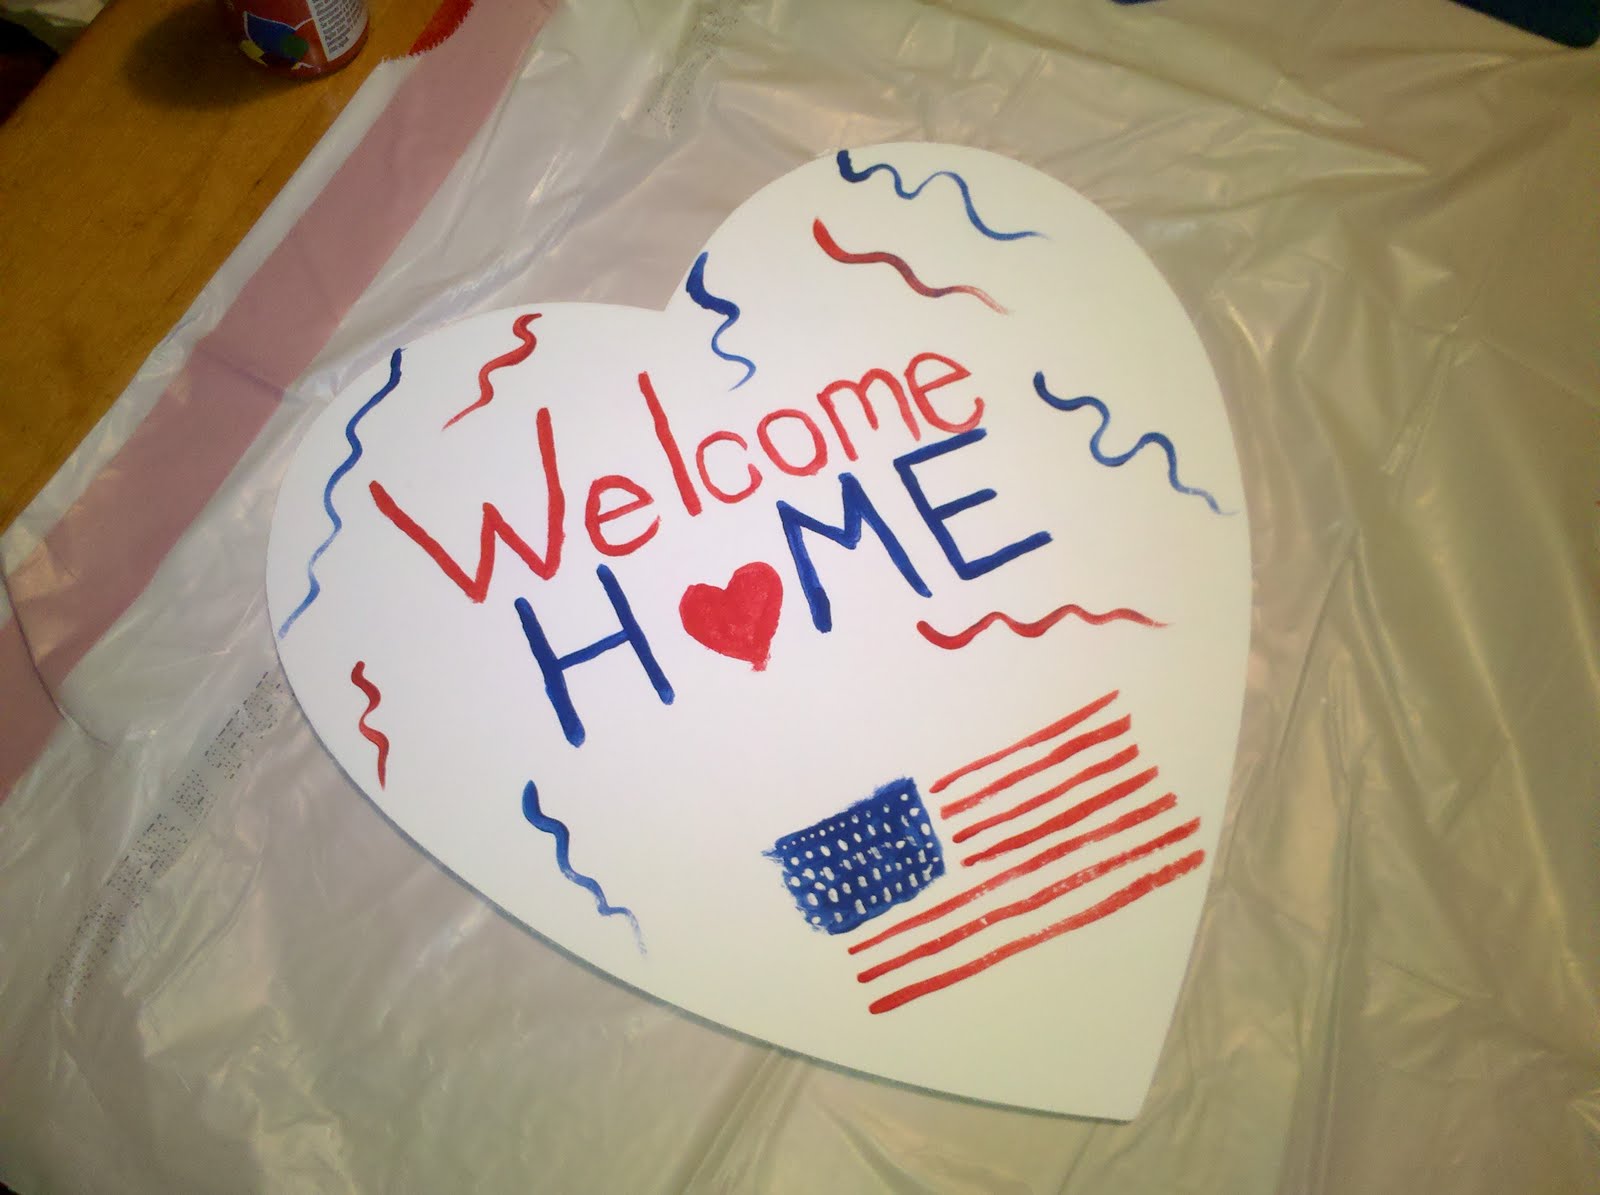
But, first I have to turn this pile of goodies into an advertisement.


First things first: base coats of paint on the forms.


I arranged the signs and flags in my little tin pot, and filled the pot with the pebbles to hold everything in place. I guess I could've gotten pebbles from the creek, but I didn't think of that until after I'd already gotten home with my bag of goodies. Ta da! This will sit on the back of my tray. But, I had to figure out how to get a tray. I thought of going back to Hobby Lobby to see what types of serving trays they had, but I really didn't want to pay their prices or spend the gas money it would cost to drive almost 100 miles round trip.
I Googled all kinds of trays. Still didn't like the price tags that were being put on what is, essentially, the bottom of a box. So, I went to the go-to gal for all kinds of wood working and minor carpentry: my step-mom.
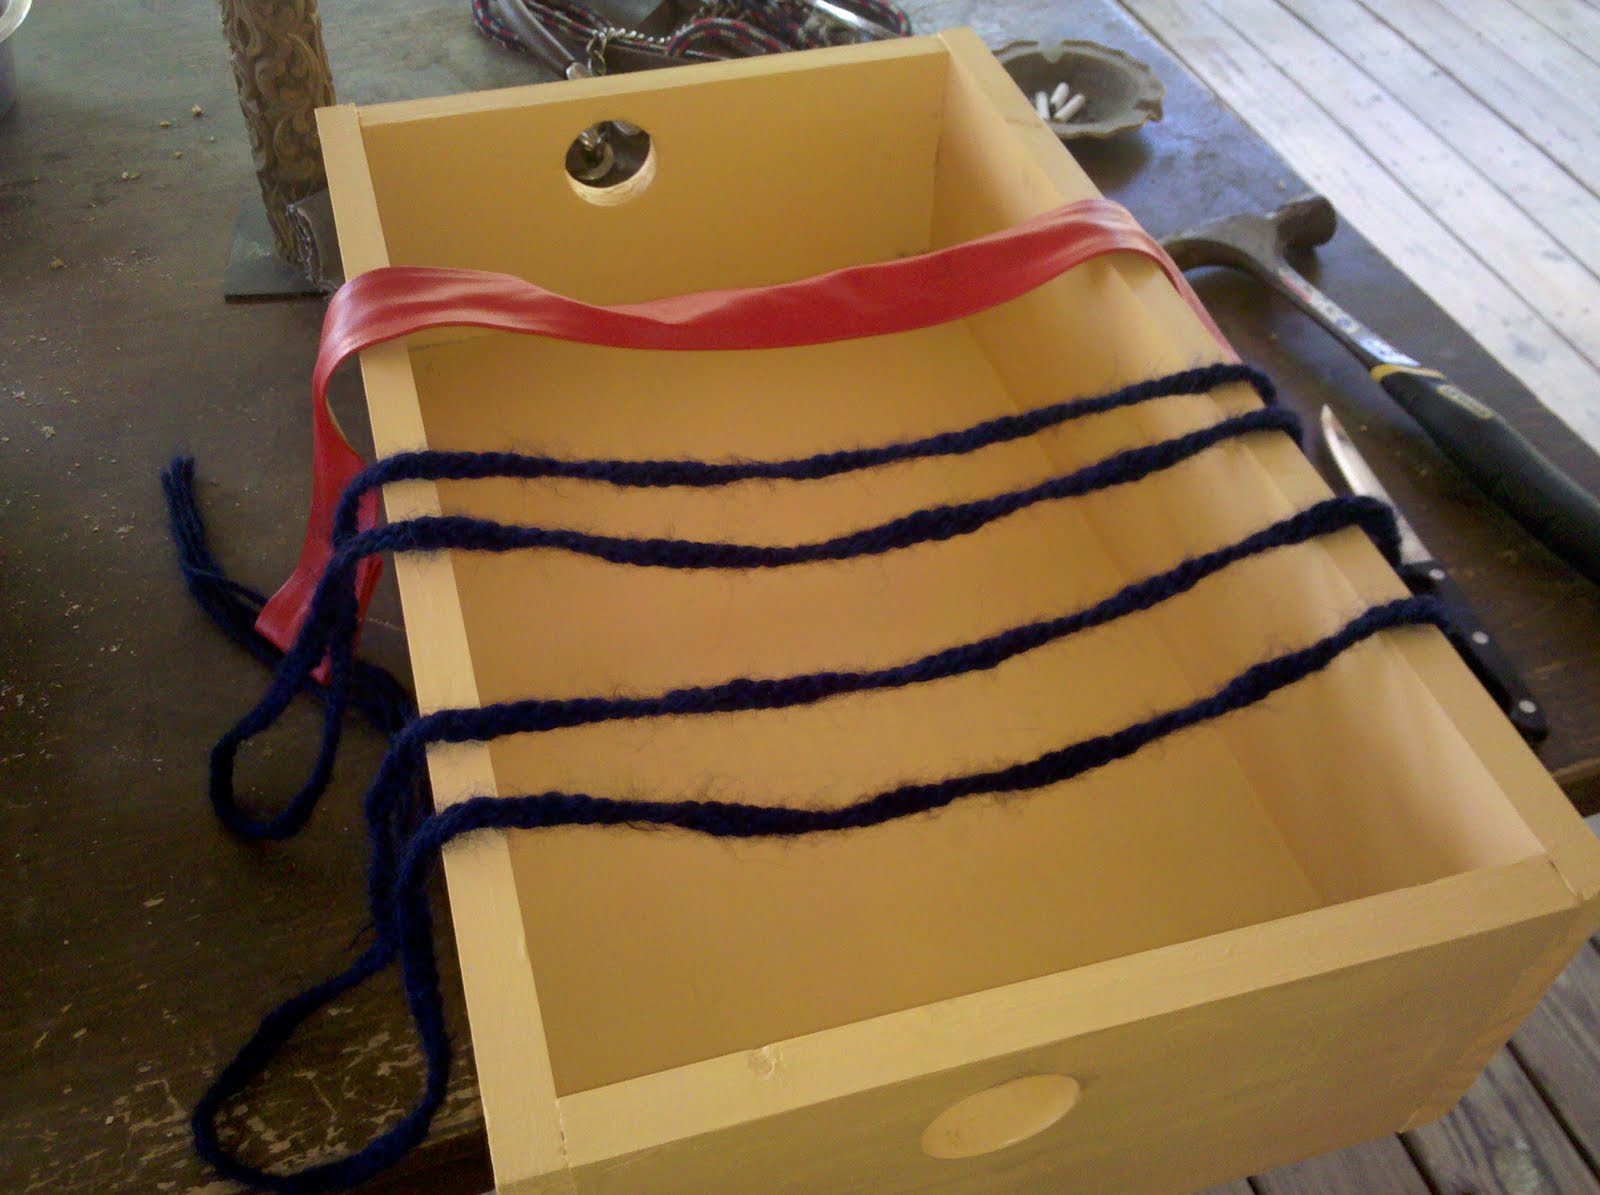
She gave me a piece of her scrap lumber to use, and even marked out the cuts for me (for which I am very grateful). I would've figured out how much leeway to leave on the ends of the side boards to make my sides frame up right, but I would've probably messed it up at least once. Her help made the project go right the first time, so no wood was wasted. I have my own power tools, and I actually do know how to use them! So onward to the next phase of the project!


I figure everyone here knows how a box is shaped, so I didn't take progress pictures of nailing the tray together. The various sides of the tray were nailed on with about 1/2 inch of overhang at the bottom to act like risers in case I needed to set the tray on the ground or something. Mom said it'd be best to do that, since the homecoming is outside. If the ground is damp, my whole tray bottom won't get damp, just the bottom edges of the side boards.


P.S. I hate these bathroom mirror pictures, but I'm alone quite a bit. I didn't have anyone to take pictures for me. But! My sister-in-law will be back in town in a couple of days, so I am thinking about getting dressed up in my homecoming get-up and talking her into taking pictures.
This leaves us with one final question. What is a Hero Cookie anyway? I guess, in theory, a hero cookie should be exactly what the hero in question wants it to be. But there's no way in the world I can make a different cookie for every redepoloying soldier, and I want to bring enough cookies so that every one of them can get some, if they want to. Since there's really only one solider that's MY solider, he's the hero my cookies are going to be tailored for. He loves ... ok he LOVES peanut butter. He'll eat it by the jar, with a spoon, with nothing to go with it. During the early part of the second half of his deployment, he was chatting with me on MSN messenger. the conversation went something like this (I know I've forgotten bits, but these are the essential bits. I specifically remember him goading me by hinting I might not be able to one-up her lol):
B - I have a challenge for you, if you're up to it.
Me - Oh yeah?
B - Yeah, my pilot's wife sent these peanut butter chocolate chip cookies. They were really good.
Me - Ah, ok. You want me to show her up huh?
B - Well, only if you think you can. I mean... these were some damn good cookies. Probably some of the best I've had.
Me - Uh huh. Challenge accepted. Wait about two weeks.
It takes about two weeks for mail to reach him, and I remember him mentioning how soft and chewy the cookies were that the pilot's wife sent. So, they had to be good and gooey so they wouldn't dry out and be crunchy when they reached him. Here's the recipe I used. B said that the people who were lucky enough to snag one said they tasted like love mushed up and baked. He said mission accomplished lol
1/2 c butter, softened
1/2 c peanut butter
1 c brown sugar, packed
1/2 c regular sugar
2 eggs
2 Tbsp light corn syrup
2 Tbsp water
2 tsp vanilla extract
2 & 1/2 c all purpose flour
1 tsp baking soda
1/2 tsp salt
2 c semi-sweet chocolate chips or chunks
Preheat oven to 375
Cream together the butters and sugars, then add the eggs one at a time.
Stir in the corn syrup, water, and vanilla.
In a separate bowl, combine the flour, soda and salt, then stir slowly into the butter mixture.
Add the chocolate and stir.
Bake on an ungreased cookie sheet.
I do NOT recommend using an electric mixer for mixing in the flour and chocolate, unless you are fortunate enough to have a countertop/stand type. This dough gets really thick. I accidentally broke my hand mixer on these cookies. If all you have is a hand mixer, use a spatula or just your hands.
I rolled mine into balls a little smaller than ping pong balls and baked them for about 9-12 minutes. As soon as the bottom edges start to turn golden, pull them out. Let them cool on the cookie sheet for a minute or two before trying to move them. Don't stack them until they are completely cool. They stick together.
These cookies are the height of gooey goodness. They can be cooked a little longer to have a firmer bite.
No comments:
Post a Comment
Share your thoughts, ideas, advice, recipes, suggestions - I'd love to hear from you.